Travel Bottle Brush & Drying Rack Kit for Baby + Sports Bottles
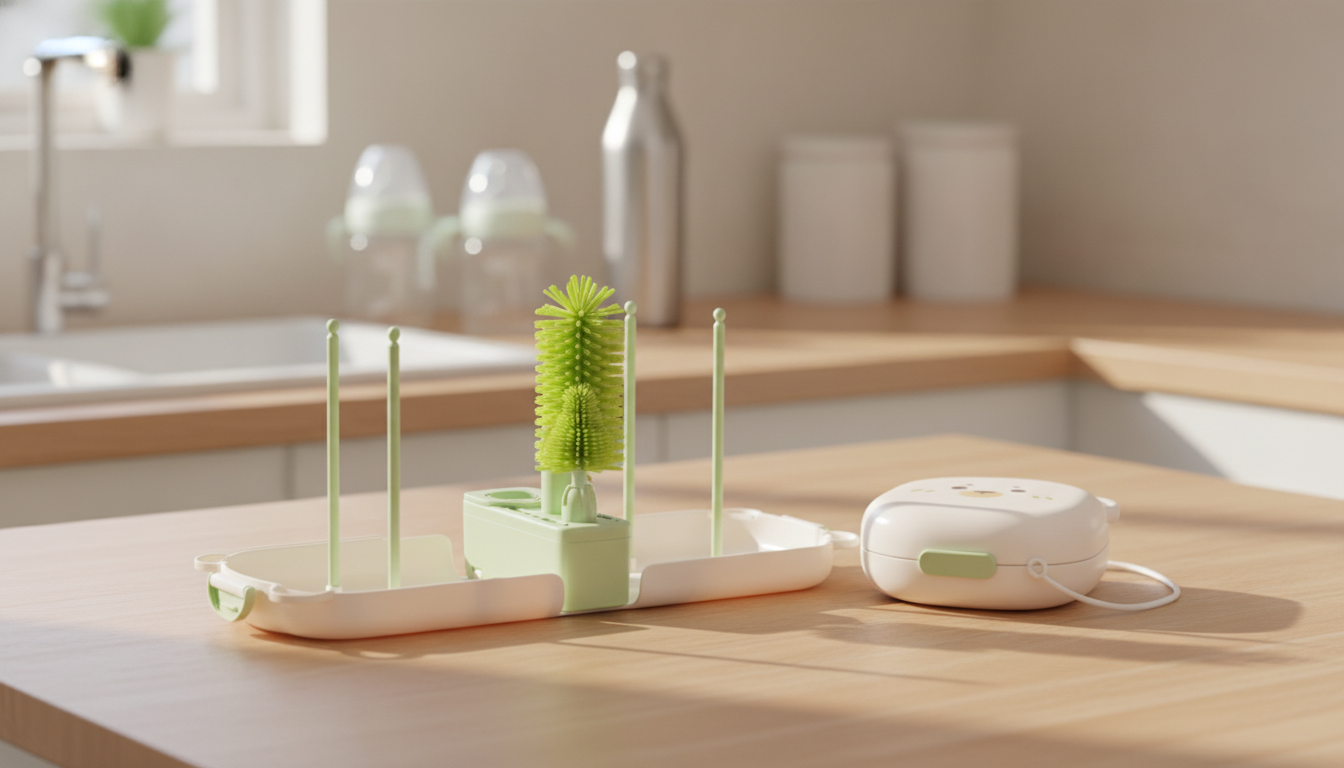
Portable cleaning that keeps up with real-life bottles
A compact brush-and-rack kit can make daily bottle care feel far less complicated—especially when you’re juggling feedings, daycare drop-off, travel days, or long stretches away from a full kitchen setup. A good portable set helps you reach narrow interiors, scrub the “hidden” shoulder area under bottle necks, and clean straw lids and valves where residue and odors tend to build up. Just as important: it gives you a hygienic way to air-dry everything so moisture doesn’t linger between uses.
For safe handling of infant feeding items, it also helps to align your routine with trusted guidance like the CDC’s recommendations for cleaning and sanitizing infant feeding items and practical feeding-safety tips from the American Academy of Pediatrics.
What this cleaning set is designed to handle
A portable baby bottle and water bottle brush set with a drying rack is meant for more than just standard baby bottles. The best kits are built around the shapes and problem spots that typical sponges can’t reach.
- Baby bottles and nipples/collars (especially after milk or formula residue)
- Narrow-neck water bottles, sports bottles, and insulated bottles (interior walls and shoulder areas)
- Straw lids, spouts, and small crevices where residue and odors build up
- Quick cleanups during travel when a full sink setup isn’t available
What’s typically included in a portable brush set with drying rack
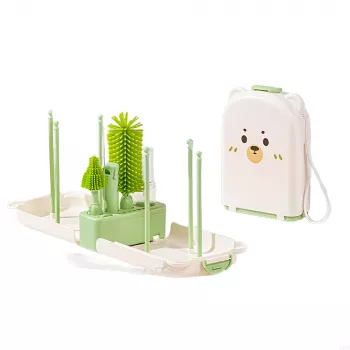
Most well-designed kits combine three brush sizes plus a compact drying solution. That combination is what turns an “I’ll wash it later” moment into a quick, complete cleanup—even in a hotel bathroom or daycare kitchenette.
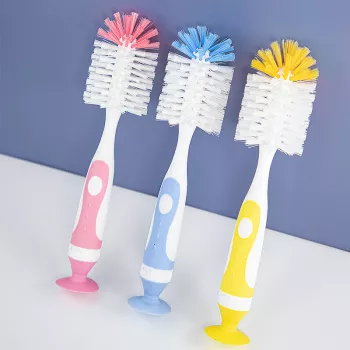
- Main bottle brush sized for bottle interiors and tall water bottles
- Smaller detail brush for nipples, spouts, valves, and tight corners
- Straw brush for long, narrow tubes and reusable straws
- Drying rack to keep parts separated for airflow and faster drying
- Portable case or integrated storage so brushes stay contained and cleaner in a bag
- Key features to prioritize: firm-but-flexible bristles, reach into bottle shoulders, and a rack that keeps parts upright and spaced
Quick reference: parts and best uses
| Component | Best for | Practical tip |
|---|---|---|
| Main bottle brush | Bottle interiors and bottle shoulders | Rotate while applying light pressure to reach the shoulder curve |
| Detail/nipple brush | Nipples, spouts, valves, threads | Pay attention to threads and seams where film can hide |
| Straw brush | Straws, narrow tubes, bite valves | Flush with warm soapy water after brushing to clear loosened residue |
| Drying rack | Air-drying parts between uses | Separate pieces so wet surfaces don’t touch and trap moisture |
| Travel storage/case | Keeping tools contained and clean | Let brushes drip-dry before packing to reduce musty odors |
How to clean bottles effectively (home or travel)
A consistent method is often more important than a long method. When you can rinse right away and scrub the correct areas, you prevent protein film and odors from setting in—especially with formula, milk, or sweetened drinks.
- Rinse immediately after use. A quick rinse prevents milk/formula proteins from drying on surfaces.
- Wash with warm water and dish soap. Use the main brush for bottle walls and the smaller brush for nipples and threads.
- Don’t skip the shoulder area. For water bottles, scrub under the neck where residue and odors often linger.
- Disassemble straw lids fully. Separate straw, valve, and gasket (if removable), then brush each piece individually.
- Rinse thoroughly. Remove soap and loosened debris from all parts and channels.
- If using a dishwasher, confirm safety first. Place small parts in a top-rack basket so they don’t flip or fall into heating elements.
When sink access is limited, prioritize rinsing and brushing the “contact points” (nipples, spouts, straws, and the bottle shoulder). Then do a full wash again as soon as you’re back to a proper setup.
Drying matters: using the rack to reduce lingering moisture
Drying is not an afterthought—especially for parts with narrow channels. Air-drying on a rack helps avoid pooling water inside bottles and caps, which can contribute to odors and residue over time.
- Place bottles upside down to drain; place nipples and valves with open sides exposed to airflow.
- Keep parts from touching so moisture can evaporate from all surfaces.
- Use the rack even for “quick” washes; a few minutes of airflow can make a big difference.
- If packing for travel, allow a brief drip-dry period before closing the case whenever possible.
Hygiene and maintenance for the brushes themselves
When a portable set is especially useful
Recommended in-stock picks
If you want an all-in-one option designed to handle both baby-feeding items and everyday bottles, this compact kit is a practical place to start: Portable Baby Bottle & Water Bottle Cleaning Brush Set with Drying Rack.
- Girls Knit Sweater Dress with Heart Print & Ruffle Collar
- Kids’ 12V Ride On Land Rover with Remote Control and LED Lights
Portable Baby Bottle & Water Bottle Cleaning Brush Set with Drying Rack: at-a-glance details
| Item | Details |
|---|---|
| Product | Portable Baby Bottle & Water Bottle Cleaning Brush Set with Drying Rack |
| Price | 40.51 USD |
| Availability | In stock |
FAQ
How often should baby bottles be cleaned and dried?
Clean bottles after every feeding or use. Rinse promptly, wash with warm water and dish soap, rinse well, and air-dry completely on a rack to help prevent trapped moisture and lingering odors.
How can straw lids and valves be cleaned without leaving residue behind?
Disassemble all removable parts, then brush the straw and valve channels with a straw or detail brush. Rinse thoroughly and let each piece air-dry separately on the rack so hidden moisture doesn’t get trapped.
Is it okay to store brushes in a travel case right after washing?
It’s best to shake off excess water and let brushes drip-dry briefly before closing the case. Storing soaking-wet brushes can encourage musty odors and leave moisture trapped in the bristles.









Leave a comment