Universal Blow-Molded Baby Car Seat: Fit & Install Tips
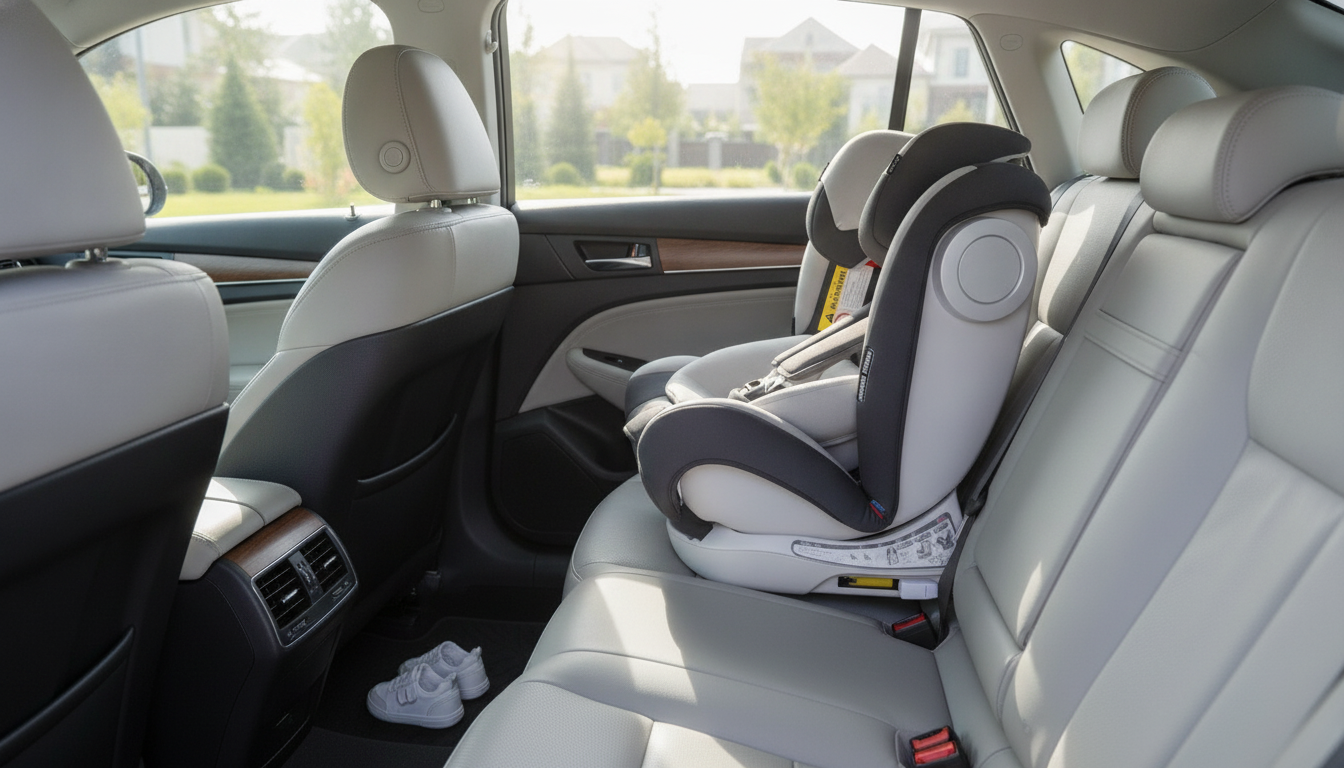
Universal Blow Molding Baby Car Seat: Safety, Fit, and Everyday Comfort
A blow-molded car seat shell is designed to be rigid, lightweight, and consistent in shape—features that matter for daily installs, travel, and long-term use. This guide breaks down how a universal blow-molded baby car seat typically performs, what to check for compatibility, and how to set it up for a secure ride. For broader child passenger safety guidance, you can also review resources from the NHTSA and the American Academy of Pediatrics.
What “Blow-Molded” Means for a Car Seat Shell
Blow molding is a manufacturing process that forms a hollow plastic structure. In a car seat shell, that typically translates to a strong, rigid frame that can help balance durability with manageable weight. While every model is different, blow-molded shells are often chosen for the consistency they can provide from unit to unit—useful for repeatable belt paths, harness routing, and predictable fit against a vehicle seat.
A rigid shell can also help maintain consistent geometry around key stress points. When the belt path and harness components sit where the manual expects them to sit, it’s easier to install the seat the same way each time. Caregivers who transfer a seat between vehicles may especially appreciate the lighter weight that often comes with this construction style.
When comparing options, look for smooth edges, reinforced zones around belt paths, and clear labels that show routing and recline guidance. Clear labeling matters because it reduces “guesswork installs”—the kind most likely to loosen or end up routed incorrectly.
Quick Spec Snapshot and Buying Checklist
Before purchasing any “universal” car seat, confirm what stage(s) it’s designed for: rear-facing only, convertible (rear- and forward-facing), or forward-facing harness (varies by model). Next, verify child fit limits, including minimum and maximum weight/height and the harness height range. A seat can be high-quality and still be a poor match if your child sits between settings or reaches the maximum height early.
Vehicle compatibility is the other half of the decision. Many seats work well in many vehicles, but not in every seating position. Belt geometry, buckle stalk length, headrest shape, and seat contouring can change whether you get a tight install. If possible, plan a test install (or check return policies) so you can confirm a secure fit in the seat location you intend to use most.
Compatibility and Setup Checks (At-a-Glance)
| What to check | Why it matters | How to verify |
|---|---|---|
| Vehicle seating position (outboard vs center) | Some positions install more securely than others | Test-install in each position; choose the tightest secure fit allowed by the vehicle manual |
| Seat belt locking method or LATCH availability | Correct locking prevents loosening over time | Use your vehicle manual to confirm how the belt locks; confirm LATCH limits if using LATCH |
| Recline angle/level indicator | Proper recline supports airway and comfort (especially for infants) | Use the built-in indicator; adjust with allowed recline positions or approved leveling methods |
| Harness fit and routing | Correct harness position reduces injury risk | Harness at/under shoulders for rear-facing, at/above for forward-facing (follow the seat manual) |
| Tightness at belt path | A secure install should not shift excessively | Grip at the belt path and confirm minimal movement (follow manual guidance) |
In-stock picks to consider
If you’re shopping now, these in-stock items are available:
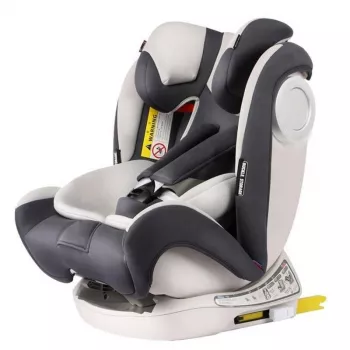
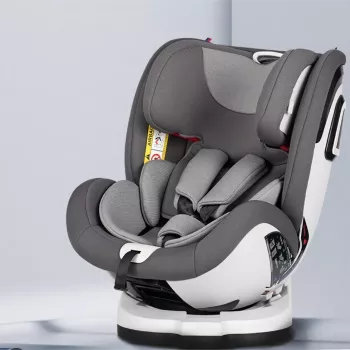
- Universal Blow Molding Baby Car Seat (In stock)
- Kids’ 12V Ride On Land Rover with Remote Control and LED Lights (In stock)
How a Secure Install Should Feel
A secure install isn’t about “muscling” the seat into place—it’s about correct routing, proper locking, and removing slack the way the manufacturer instructs. Start by routing the belt exactly through the correct belt path for the chosen mode (rear-facing vs. forward-facing). Even a slight misroute can change how the seat tightens and how it performs.
As you tighten, apply pressure where the manual recommends—often where the child’s weight would rest—while pulling slack from the seat belt or LATCH strap. Once installed, test for movement at the belt path (not at the top of the seat). The goal is a stable setup that doesn’t shift excessively when checked the recommended way.
Harness and Buckle Fit: Comfort That Also Protects
Everyday Practicalities: Cleaning, Travel, and Storage
When to Stop Using a Seat (and What to Do Instead)
Also avoid seats with an unknown history. A second-hand seat may have been in a crash, stored improperly, or have missing parts—issues that can’t always be seen. Finally, transition to the next stage only when the current one is outgrown by height/weight or fit markers (such as shoulders above harness slots), not simply by age. The IIHS child safety page offers helpful, plain-language overviews of restraint types and best practices.
FAQ
Does “universal” mean it will fit every car?
No. Many seats fit most vehicles, but not every seating position will allow a secure install. Always follow both the car seat and vehicle manuals, then test-install to confirm tightness and approved seat belt/LATCH use.
Is a blow-molded shell stronger than other shells?
Blow molding can produce a rigid, consistent shell, but overall safety depends on meeting required safety standards, correct installation, and proper harness fit. The best shell design can’t compensate for an incorrect belt path, recline angle, or loose harness.
Can a baby wear a winter coat in the car seat?
Bulky winter coats should not be worn under the harness because the padding can compress and create dangerous slack. Use thin layers, tighten the harness properly, and add a blanket over the buckled harness for warmth if needed.









Leave a comment